So you’ve got a goalie on your hands, you’re in luck!
Dressing a goalie isn’t as hard, nor as scary, as some parents might make it out to be. If your son or daughter is thinking about playing goalie, encourage it. Many young goalies are drawn to the gear that goalies wear, taking to it from an early age.
With that being said, athletes mature at different ages. Malcom Subban, goalie for the Chicago Blackhawks, started playing goalie in his teens. So did Hunter Miska, Colorado Eagles (AHL) goalie and 2016/17 Division 1 Champion.
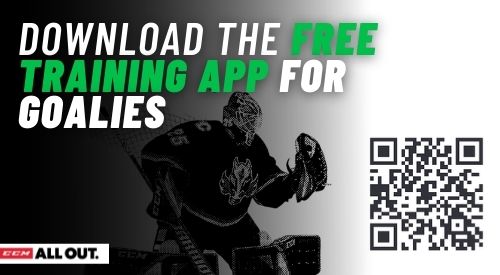
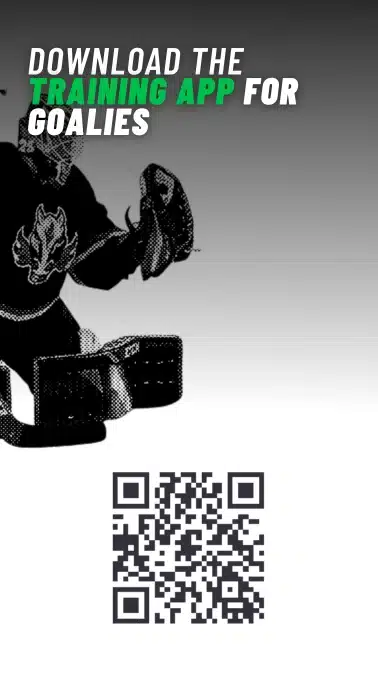
New goalie parent? Consider joining the Goalie Parents Facebook Group, with over 20,000 other parents of goalies. There are even parents of NHL goalies in the group! Additionally, take a look at the Goalie Training App we’ve built, with hundreds of drills, tips and tricks and all the information you could possibly need to playing the position.
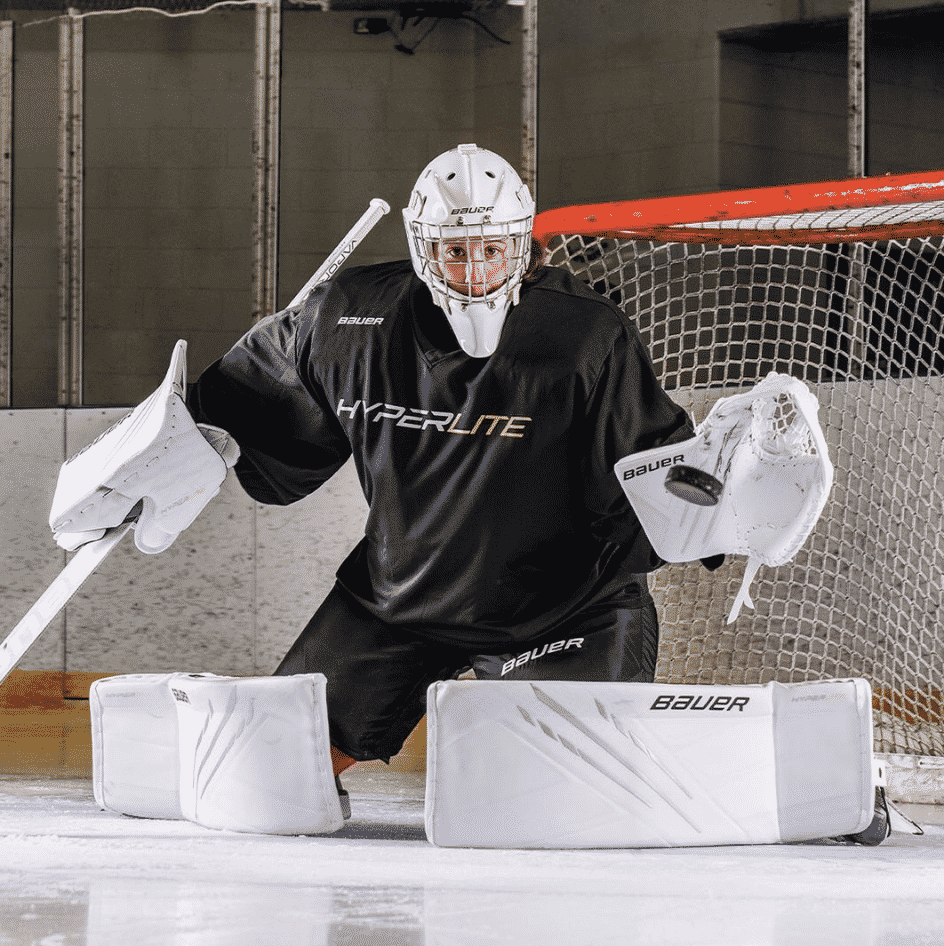
Youth goalie equipment checklist
For the first couple of times, it’s important that you’re in the dressing room with them (depending on their age). It’s easy for young goalies to get discouraged if they’re unsure of all the steps.
Here’s all the equipment a goalie needs to play hockey.
If you need to buy youth goalie equipment, we recommend shopping at GoalieMonkey, here’s a link to their clearance goalie equipment.
- Skates (preferably goalie skates, but for young goalies, they can get away with player skates until they’re sure goalie is their calling.. don’t worry, you’ll know soon enough!)
- Leg pads (if the team cannot provide them, ask your association for extras or contact other goalie parents. They likely have them lying around.)
- Glove and blocker
- Hockey or goalie pants (young goalies, up until about Squirts, may not need goalie specific pants. In fact, they may actually hinder their performance due to the extra bulky padding)
- Jock or jill (again, this does not need to be goalie specific)
- Chest protector, also called a C/A for chest and arm
- Helmet (a youth goalie helmet is best, however fit is most important. If they only have a player helmet but it fits them better than a goalie helmet, use that. Make sure you’re using a dangler)
- Dangler (the plastic shield protecting the throat area)
- Neck Guard (this is not a plastic shield, but rather a protective neck guard that lays over the neck / throat / clavicle of an athlete)
- Goalie stick (make sure it’s a goalie stick, not a players stick)
- Undergarments (make sure it’s breathable)
- BONUS: knee pads. Not neccesarily required, though most goalies will wear knee pads. If you’re not wearing knee pads, make sure the goalie pads you’re wearing have some type of a thigh protector built in. Some goalies may not ever wear knee pads, though we personally recommend it.
You’ll quickly learn that some gear offers extra bulk, making it harder for a young goalie to move about. Things like goalie specific pants and knee pads may be overlooked for a few years until the goalie starts facing harder competition. On the flip side, make sure they feel completely safe between the net for the best (and most fun!) experience.
Buying on sale goalie equipment is one of the easiest ways to save money on your goalie gear purchase. Both Pure Goalie and Goalie Monkey hold clearance sales 365 days of the year.
How to dress a Youth Hockey Goalie step by step
Dressing a goalie isn’t as hard as you’d think. Once they’ve done the process a few times, they’ll catch on quick.
Step 1: put on your undergarments.
Step 2: pull on your hockey or goalie pants and make sure they’re snug. Some goalies wear suspenders to help with keeping the bulky pants up.
Step 3: if you’re wearing knee pads, put them on after the pants.
Step 4: put on skates and tighten accordingly. Just like regular skates, each player has his own preference. Somewhere right in the middle of not too tight and not too loose.
Important note: ensure the laces have enough length to loosen appropriately, yet not touch the ice when tightened. A goalie can step on a lace and slip.
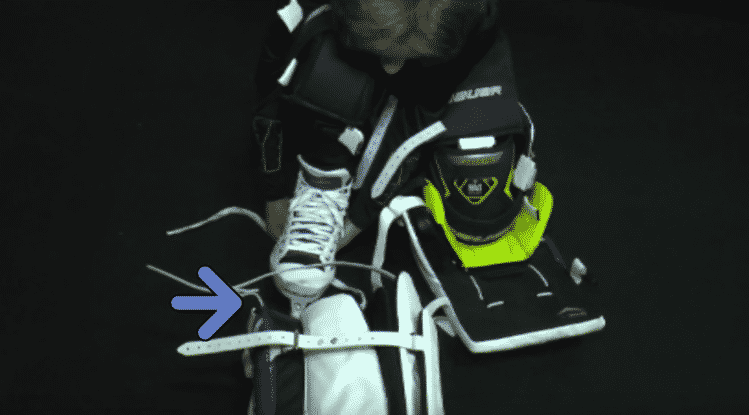
Step 5: lay pads in front of the goalie on the ground. Always put pads on from the bottom up. It’s best if the goalie is involved in this process so they learn to do it themselves. For every set of goalie pads, there is a tie set up on the “toe” of the pad. This laces through the bottom of the goalies skates (screenshot from USA Hockey video below) and helps center the pads on the goalies skates/legs.
Strap the pads. You want a snug fit down low (not tight, the pads should be able to rotate). Near the top, with 99.9% of goalies using a butterfly style of play, the pads should be a bit looser.
Step 6: put on the neck guard.
Step 7: put on chest protector and ensure that all buckles are properly clasped. Tighten the arms. It’s best if there is 1-2 inches between the hands and the bottom of the arm of your C/A unit. This will allow the gloves to fit properly and rotate in a goalies hands.
Step 8: pull on jersey.
Step 9: put on helmet.
Step 10: put on glove and blocker.
Step 11: grab goalie stick.
Step 12: you’re on the ice!
This youth goalie dressing video from USA Hockey puts everything together perfectly.
Are you a new goalie parent, or goalie coach?
We’ve put together a massive library of hockey goalie training drills specifically for new goalie parents, goalie coaches, and seasoned goalies.
The program (sign up below) is a monthly subscription that we’re constantly updating. Inside each different drill type there are advanced and beginner drills, covering everything from the fundamentals of goaltending to advanced strategies and concepts.
The Vault is a monthly subscription of every goalie drill we’ve ever used, sign up.
Buying on sale goalie equipment is one of the easiest ways to save money on your goalie gear purchase. Both Pure Goalie and Goalie Monkey hold clearance sales 365 days of the year.